CreateaFreeWebsite  with Responsive Design Tutorials

General


9 Step Tutor

How to Create a Web Page with HTML5 and CSS

Add Paragraph Tag and Style sheet Settings

You should complete these lessons in order. If you haven't completed the first exercise, go back and start there.

Completing Your Page Header

We're going to complete our web page header by adding some site heading text.

To do this, we only need to add 1 line of code to our HTML page.

Then we'll define the appearance using our style sheet.


Third Exercise

Copy and Paste the code shown in drk red inside of the header element:

<header id="heading">

<p>My First Page<span class="slogan"> with&nbsp;Responsive&nbsp;Web&nbsp;Design</span></p>

</header>

Save myfirstpage.html

Look at it in your browser if you want to see how it displays before you add the style settings.

Liquid Demo 3

Hmmm. Now a blue box and some black text; and still that ugly menu text link.


Define the P element, slogan and HIDE the Link

We added a p element for our site heading text to the html code. We need to define the text and locate it in the desired positions using the style sheet.

The next block of CSS code defines the appearance of the text of the h1 tag and then positions it within the header element.

Copy and paste the code into your style sheet.

Explanation below:


header p{
	font-size:30px;
	float: left;
   text-indent : 0;
	color:#ffffff;
	text-shadow:2px 2px 4px #333332}
.slogan{
	font-size:24px;
	font-style:oblique;
	font-weight:normal;
	color:#000001;
	text-shadow:none}

Save myfirstpage.html

Font size should be defined in pixels. (*Much less confusing than ems for beginners)

The color property defines forecolor. It is defined here in hexidecimal code. We're changing from the default value because the text will be on a medium colored background.

The float property aligns an element to the left or right within its container.

You could also use text-align: left for left aligning the p tag.

The padding property is defined in percentages or relative values. It produces space between the edge of the element and the inner wall of the header element. The settings are read: .5% top and bottom, 5% left and right.(Added Lesson #2)

Once you get everything added to the document and saved, look at the HTML page with a browser.

Refresh or reload if the page is already open.

Liquid Demo 3


Define and Hide the lmenu

The lmenu doesn't really come into play until we start designing for the narrower device widths that could be viewing the page. For now we need to hide it until that moment arises. Enter CSS with its manipulative Magic.

We're going to place this code in the style sheet below the last entry.

If you feel the need, you can place the cursor below the last line of the style sheet and tap the enter key a couple of times to create some space

Copy and paste the code into your style sheet below the last line in the style sheet.


.lmenu {float: left; z-index:-2}
.lmenu a {
display: block;
color: #ffffff; 
background: #6699cc; 
text-decoration: none; 
padding:10px 10px;
box-shadow: 1px 1px 4px  #0e0e0e
}
.lmenu {display:none}

Save myfirstpage.html

The first line positions the lmenu to the left. Z index we won't go into right now. The second block of code defines lmenu as a blue square with white letters. The third entry display: none says Hide it til we're ready to use it.

The Result

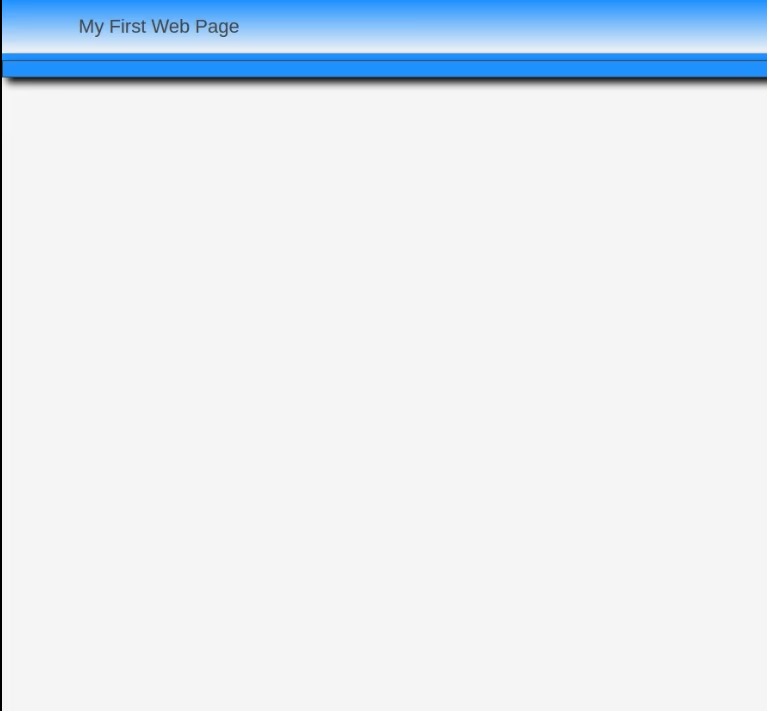
kit photo 3If this is what you see, you are ready to continue:

Were you successful?

The display may vary in appearance depending on the width of your browser window and the viewing resolution.

If you don't see something similar, check the code that you added to your HTML page and style sheet.

The exact order of placing entries in your style sheet isn't critical except for the first and second blocks.

You should try to keep it organized by placing division definitions with division definitions and text definitions with text definitions.

We'll show you a practical order for placement as we go along.


Test Your Comprehension

Take a quiz on the information presented so far.

Ready to Proceed

When you get everything working with the desired result in your browser, you are ready to proceed to the next exercise.

Want to speed things up with a free HTML editor? Get NoteTab Light for Windows. I wish I could still use it on Linux.

Don't be afraid to delete all your work and start over from the beginning!

Think you're ready for the kit? Download Template #402 - 6 Page Kit

Don't go on unless you have a basic understanding of the procedures presented so far.


Free Tools and Resources We Recommend

Need something more advanced. Check out our Web Development Resources page for some more advanced tutorials and reference guides for HTML5, CSS3, Responsive Design and SEO.


Free Responsive Web Design Certification freeCodeCamp
freeCodeCamp is a proven path to your first software developer job.
More than 40,000 people have gotten developer jobs after completing this – including at big companies like Google and Microsoft.
Finally, you'll learn how to make webpages that respond to different screen sizes by building a Twitter card with Flexbox, and a complex blog layout with CSS Grid.
FREE Certification Courses!!
Free Ebook How to Code in HTML5 and CSS3
"How to Code in HTML5 and CSS3" is a free e-book about making websites in HTML5 and CSS for absolute beginners. It doesn't require any experience in IT to start....
FREE HTML Editor (Windows): NoteTab Light
All the features of a commercial HTML editor.
FREE Apache Server (Windows): IndigoAmpp
Set up a real time server environment right on your PC. Test forms and scripts before uploading to your web space.
Linux Users
If like us, you've left the insane world of Microsoft Windows for the even worse experience of Linux, we recommend the BlueFish HTML editor. You'll find it in your software repository. It does have some QUIRKS, but it's FREE.
For image resizing we've found the easiest Linux tool to be Krita.