Flexbox Lesson #3
Completing Your Page Header
We're going to complete our web page header by adding some paragraph text.
To do this, we only need to add one line to our HTML code.
Then we'll define the appearance using our style sheet.
Third Exercise
Copy and Paste the code shown in drk red inside of the header element:
<header>

<p>My First Flexbox Page</p>

</header>
🔴 Save flex-tutorial.html
Define the paragraph tag in the header
We added a paragraph tag for our site header text to the html code. We need to define the text and locate it in the desired positions using the style sheet.
We're introducing a little known procedure of CSS which is Nesting Elements. Nested settings will only be applied in this case to paragraph tags in the header.
If you need a simple HTML editor that supports nesting in style sheets, grab a free copy of Geany. It is cross platform: Works on Windows, Linux and Apple.
Note: Your editor may not support nested elements, but your browser will.
Copy and paste the code into your style sheet.
Explanation below:
header { /*Begin Nested header*/
        background-color: dodgerblue;
        justify-content : flex-start;
        align-items : flex-start;
        p { /*nested paragraph*/
        /* Font size adjusts from 20px to 36px*/
        font-size: clamp(1.25rem , 1.25rem + 1dvw , 2.25rem);
        text-indent : 0;
        color:#fff;
        text-shadow : 1px 1px 2px #000;
           }
        } /* End nested header */
🔴 Save flex-tutorial.html
👀 Look at the HTML page with your browser.
The Result
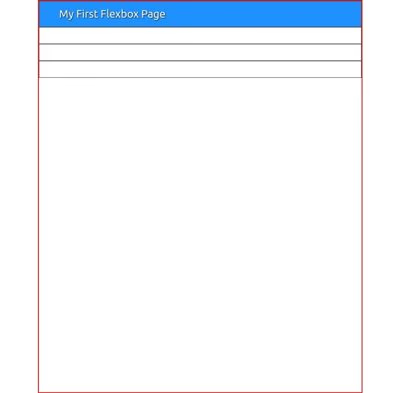
You should see something similar to this image. Is so, you can proceed to the next lesson.
Explanation
Position Header Text
Two lines are used to position the paragraph text in the header element:
justify-content : flex-start;
align-items : flex-start;
Once again we use the clamp function to define font-size.