Create a Website with HTML5 - Lesson #3
HTML5 added several tags that act like the division tag . These are called Box Elements.
These tags header, nav and footer can be used to develop your web page structure. You might think of them as division tags given assigned names for specific purposes.
The <header></header> tag not to be confused with the old heading <h1></h1> tag that was used to add large text to pages, is used to add headings to your webpages.
The Heading Tag
Basic Attributes:
Sizes: h1-h6 (h1 is largest by default)
font-family:
font-size:
font-style:
font-weight:
text-align:
color:
margin:
padding:
border:
text-shadow:
(All attributes should be defined using style sheets )
You can have more than one header element on a page and it accepts Global attributes.
The <nav></nav> tag is used to add navigational devices to your pages.
You can use more than one nav on the same page and it accepts Global attributes.
The <footer></footer> tag is used to add a footer to your page.
You can use more than one footer on the same page and it accepts Global attributes.
We'll see what all this means through the course of the tutorial.
Adding a Web Page Header
The key to building web pages with HTML is learning to manipulate box elements.
 Just think of these box elements as 4 sided boxes that you can stack or align side by side to create columns.
We won't be building columns in this tutorial, but we will be stacking 4 box elements on top of each other to produce a header, a navigation device(nav), a main element which will contain our page content and a footer at the bottom of the page.
Exercise #1
In Exercise #1 we'll add a header to the page and add it's style settings to the style sheet.
Once again, the header tag was added in HTML5 and is simply a division designed for a specific purpose.
Copy and paste the code shown below into the text editor below the <body> tag.
<header>
<p>Create a Website with HTML5</p>
</header>
Save mytemplate.html
Copy and paste the code shown below into the embedded style sheet below the last entry.
header {
width: 100%;
background: #336699;
float: left;
margin: 1% 0;
border-radius: 10px;
box-shadow: 1px 1px 4px #202020
}
Save mytemplate.html
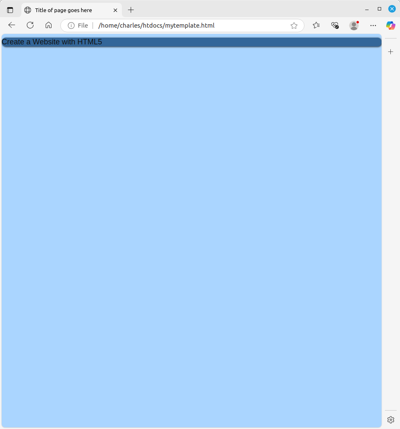
Now Preview the web page in a browser.
HELP: To Preview your web page type: file:///c:/htdocs/ in the URL box at the top and hit enter. If you've followed directions to this point you will see your web page mytemplate.html in the Folder Index that pops up. Just click on the web page file to open it in the browser..
You should see something similar to this:
Now we'll add the style settings to format the paragraph tag text in the header element
Exercise #2
Format the paragraph tag in the header element.
Copy and paste the code shown below into the style sheet below the last entry.
header p {
color: #ffffff;
font-size: 28px;
text-align: center;
padding: 4% 1%;
}
Save mytemplate.html
Now preview mytemplate.html again, (you may need to refresh or reload the browser window) and see if you notice any changes.
You should see something like this:
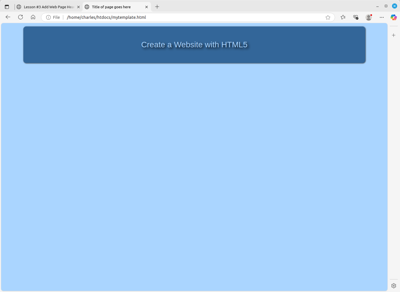
Resize the browser window until it is just a thin column and watch as the header element adjusts to fit the available space.
In Lesson #4 we'll add our navigation, main element and some content and see how to format it.
If you think you're ready Proceed to Lesson #4
 go back