PHP MySQL
Create & Test MySQL Database
Exporting a Table from your Database
I recommend that you practice exporting the birthdays table after you've added a little data to the fields.
Don't wait until you've finished your database.
Get a little experience with a basic export and then import operation to your website.
Note: If you have accessed this web page via a search engine, you should go back and start at the Beginning.
This tutorial is designed to be viewed and executed in sequence.
Learn to build your database right on your PC and Export it to your website.
The steps involved will be:
1...Export the birthdays table from the IndigoAMPP PHPMyAdmin panel.
2...Create a new database on your web hosting control panel.
3...Import the birthdays table to the new database on your website.
4...Use the test_db.php script to see if you can connect to the new database.
If the 4th step is successful, you can change the login in information on all the scripts to match that of the test_db.php script.
Note: Be aware that the procedures for creating a MySQL database on your web host's server will vary from host to host. Not all web hosts use CPanel. When you do create your new database, most web hosts will send an email that contains the information needed to connect to the MySQL server. Keep that information in a safe place.
What about Multiple Tables?
If you create a database that contains multiple tables, it is possible to Export the entire database and then Import it to your website. You will however, get fewer errors if you export and import each individual table.
Export birthdays Table
You've added some records or data to the fields in the birthdays table.
Use the normal sign on procedure to get into the IndigoAMPP PHPMyAdmin panel.
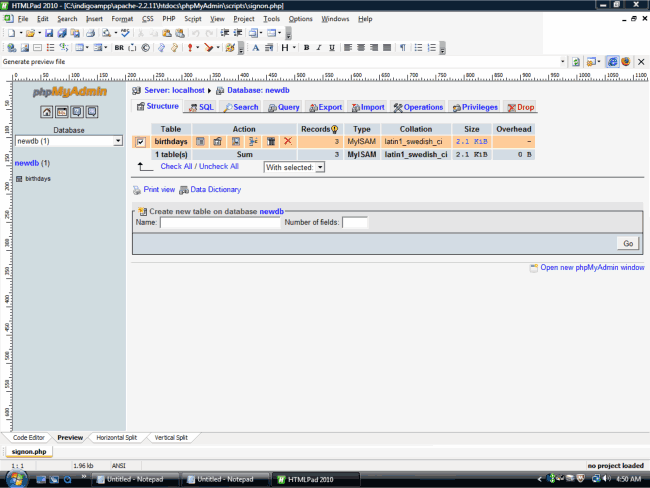
Click on newdb(1) in the left column of the Home panel.
Place a check mark next to birthdays and Click Export (top)
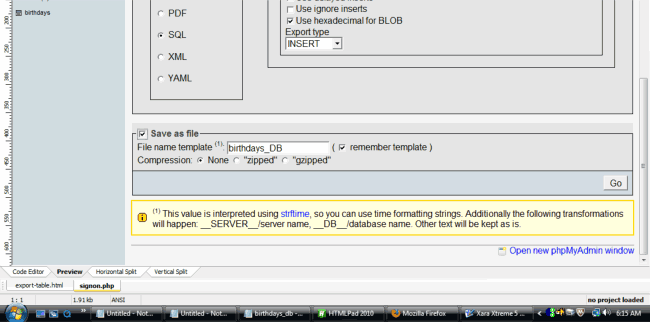
Go to the bottom of the page that opens
Leave SQL as is. Compression None as is.
Place check mark in Save as File box
Enter birthdays_DB as shown and Click Go (bottom right)
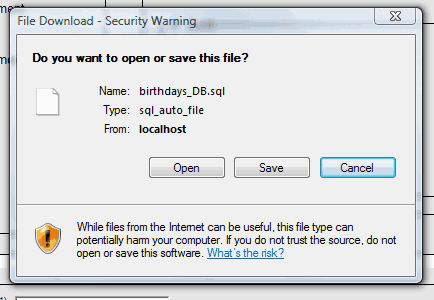
If you get a security warning like this, Click Save. Remember where you save the file.
Now you are ready to create a new database on your web host's server and Import your table.
Importing birthdays Table
Follow your web host's procedures for creating a MySQL database on your hosting account.
Some hosts will let you name your database, others will provide a name. Name it newdb if possible. This is not critical.
After you create the new database access the PHPMyAdmin panel on your web host's server.
Click on the name of the database in the left column to go to the database.
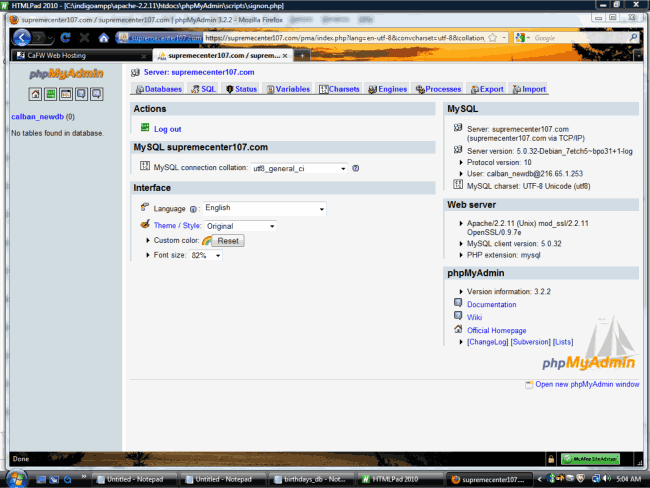
Now to be sure you are in the right place check the top of the panel to see if the name of the database is there.
You should see the name of the server and the name of the database.
If you see both, Click Import.

Use the Browse feature to locate the exported sql file on your PC.
Click Go (bottom right)
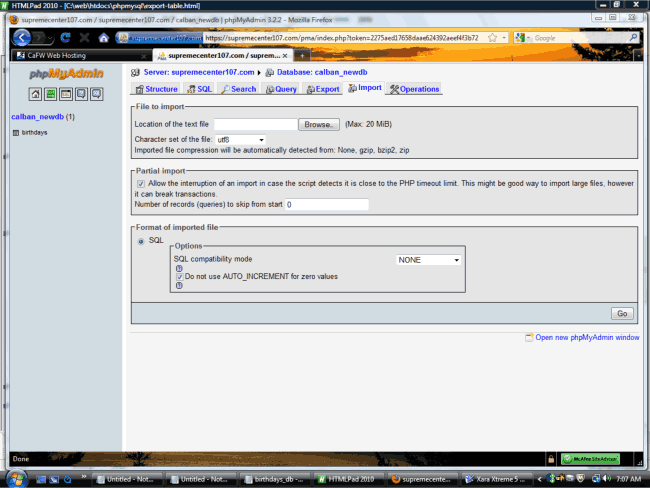
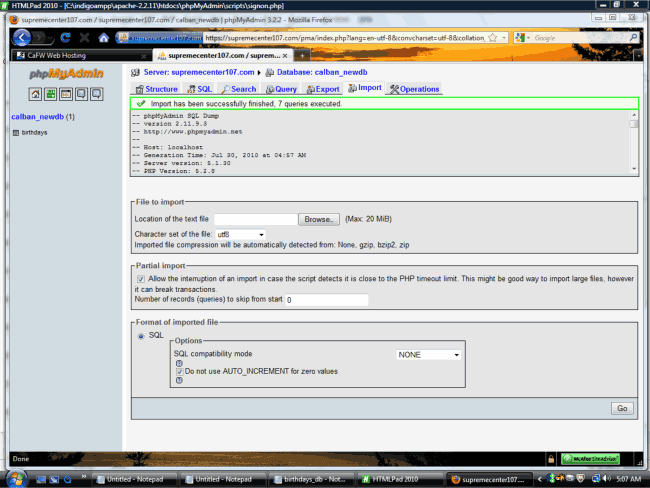
If the import is successful, you'll get a green message at the top of the panel and the information that was uploaded will be visible.
What's Next
Now you want to test and see if you can connect to your new database.
You can use the simple test_db.php script from your birthdays download.
Take the information provided by your web host:
Hostname
Username
Password
and change the script. Save it and upload to your web space. Run the script online usually from the browser with something like: www.mysite.com/test_db.php
If you get a successful connection messsage, you are ready to add the connection information to your other scripts and upload them.
Be sure to add the name of your new database to the scripts as $db="newdatabase name".
MySQL Tutorial
To extend your knowledge of MySQL study the Docs and Tutorials at the official MySQL website. MYSQL.com
