HTMLPad 2014 Tutor
Set Up HTMLPad 2014
The purpose of this tutorial will be to help those who have taken advantage of the 30 day free trial of HTMLPad 2014 to get better acquainted with the editor.
There are a few preliminaries to take care of before we start building pages.
Of course, if you haven't downloaded and installed your 30 day trial of the editor, you need to do that first.
Next we want to set up our browsers and specify one of them as the default.
If you don't have more than one, probably Internet Explorer, you should start by downloading and installing the latest versions of FireFox and Chrome.
If you do have more than one, they were most likely auto detected during installation and all you'll need to do is specify the default.
It's very important that you test web pages in more than one brand of browser.
Ready for an HTML Editor?
 You may be by the time you finish this tutorial.
I use HTMLPad 2014 for creating my websites.
In my opinion, it's the best full featured HTML 5 editor on the market for Any Price.
Better code editing features than most of the 'over priced' editors.
You can't make a mistake without seeing it immediately.
It has built in FTP for uploading your pages to your server.
For advanced users, it syncs up easily with a local host server for testing forms and scripts right on your PC.
Try it free for 30 days. Fully Functional!!
Download your free trial of HTMLPad 2014
Get Started Right!!!!
Checking and Adjusting the Settings
I've been using this editor for about 5 years.
The way I've set it up has worked flawlessly for me.
I'll run down the list of options, present some screen shots of the settings and you can adjust yours accordingly.
It looks like it would be time consuming, but you can run through the list in a very short time.
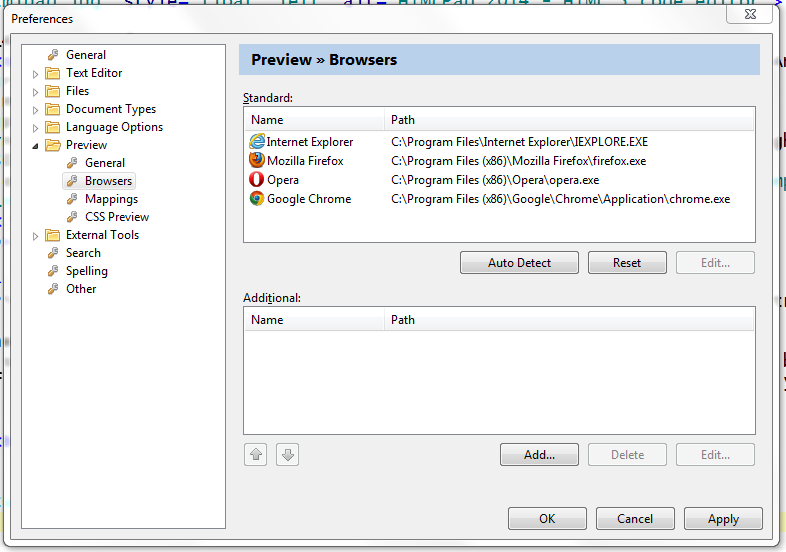
Browsers First
To set up your browsers:
Click Options
Configure Browsers
These are the browsers I have set up for testing web pages.
Type the browser name in the bottom window on any that weren't auto detected and Click Add.
Highlight the browser name and Click Edit. Browse to the location of the software, usually in Program files.
When done, Click Apply.
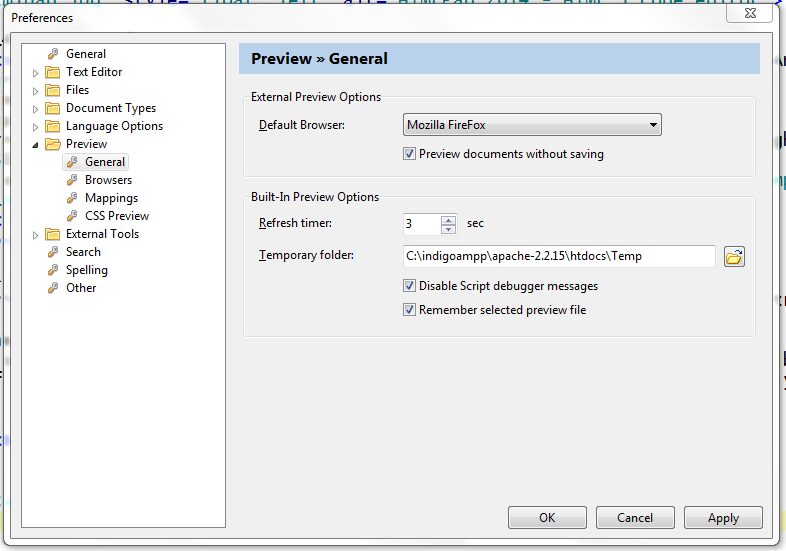
To set your default browser:
On the left side of the window you are currently viewing Click Preview - General
You can see here that I've chosen FireFox as my default external browser.
You access external browsing via Tools (Top of Editor) then Preview.
I don't recommend Internal previewing which is accessed bottom of Editor Preview button.
It defaults to the Internet Explorer browser which is so slow you can probably brew a pot of coffee while you wait for your page to display.
Never had any use for Microsoft products. Never will!!
Use External previewing and you won't have any problems.
Set up your temporary files folder while you're here and change the other settings as shown.
Running Down the List
To access the list at any time Click Options - Preferences.
First on the list is General

Change your settings to look like these. Use the browse button to locate the htmlpad 2014\templates folder and choose the Default.htm template. Click apply when done.
Note: In order to modify the templates, you need to choose Run as administrator when you start HTMLPad. If you don't, you won't be able to create new or modify existing templates. This only applies to modifying or creating new templates that are accessed from the File - New from template option.
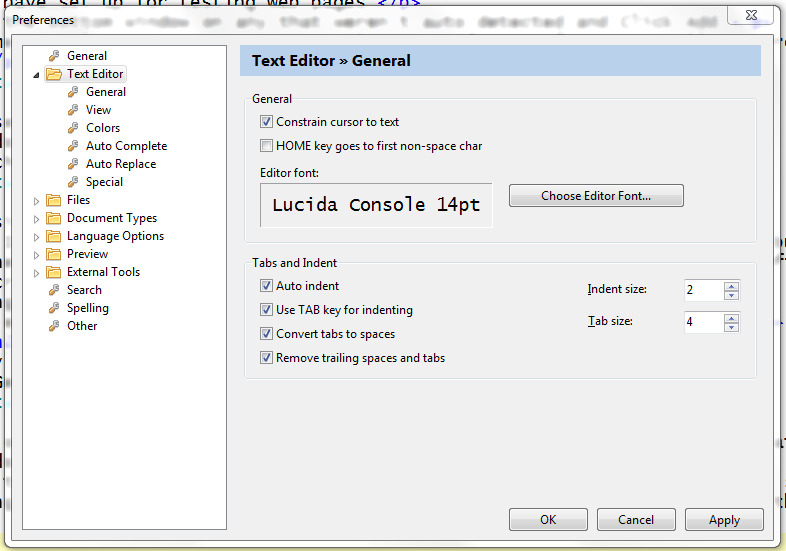
Next on the list: Text Editor - General
The first check mark is very important.
Constrain cursor to Text Make sure it's checked.
Choose your preferred font and size and add checks as shown. Click Apply
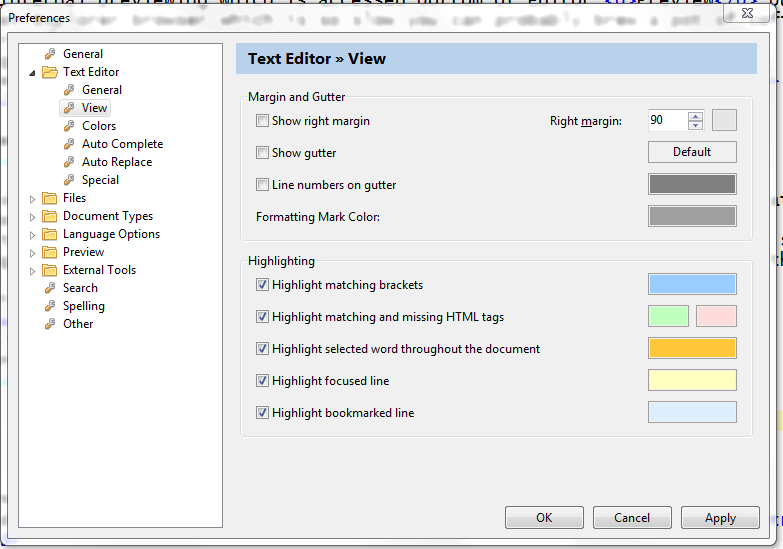
Next on the list: Text Editor - View
The top settings on this page might be a matter of taste. I don't like line numbers and excessive gutters.
You might experiment here.
My preferences. All checks on Highlighting. Wouldn't mess with the colors.
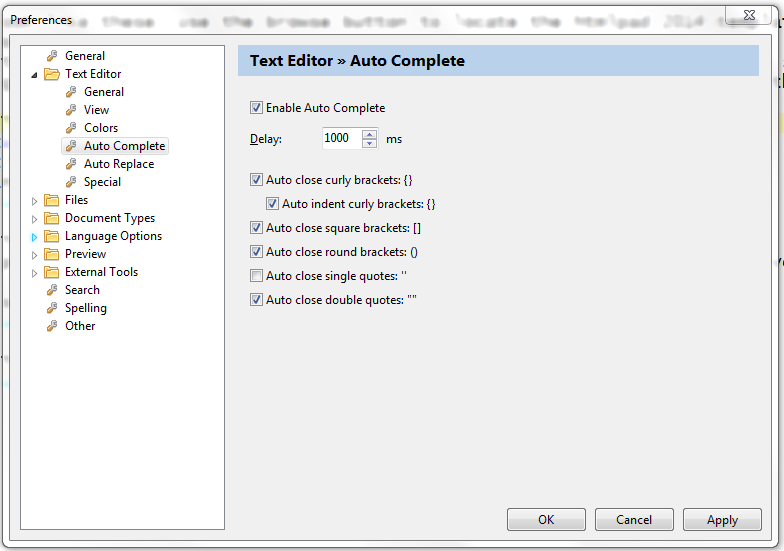
Next on the list: Text Editor - Auto complete
These are my settings. Once again a matter of taste.
Next on the list: Text Editor - Special
These are my settings. Once again a matter of taste.

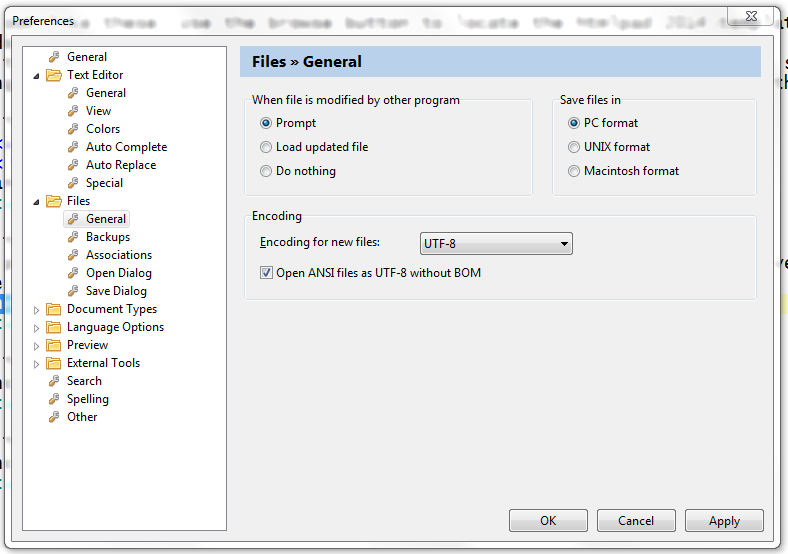
Next on the list: Files - General
These are the settings for Windows users.
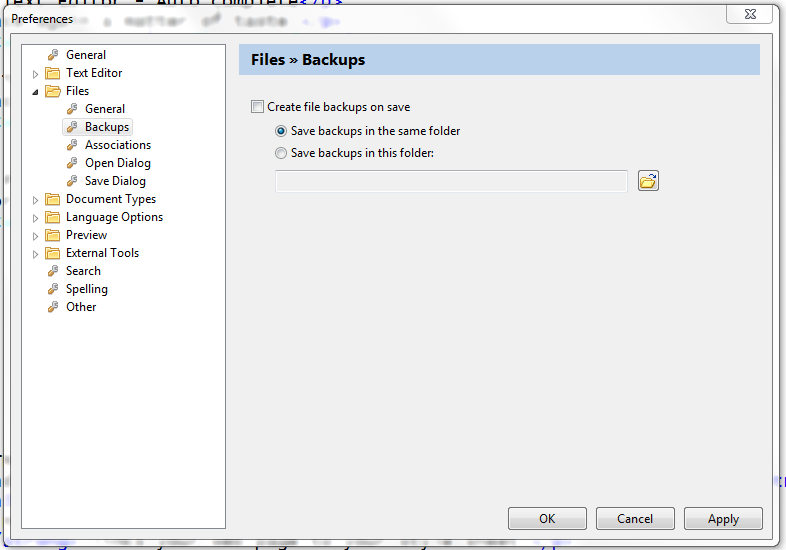
Next on the list: Files - Back Up
I don't recommend Back up files. Uncheck the box.
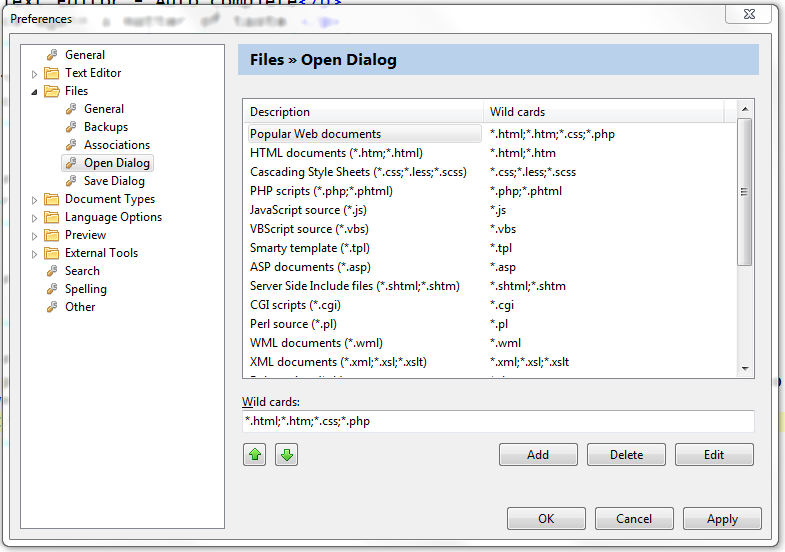
Next on the list: Files - Open Dialog
Open and Save Dialog are pretty much the same. Move the file types you expect to use the most to the top of the list using the green arrow buttons. My preferences shown here. Do the same with Save Dialog
Popular web documents is a mess. You can clean it up by changing the wildcard list.
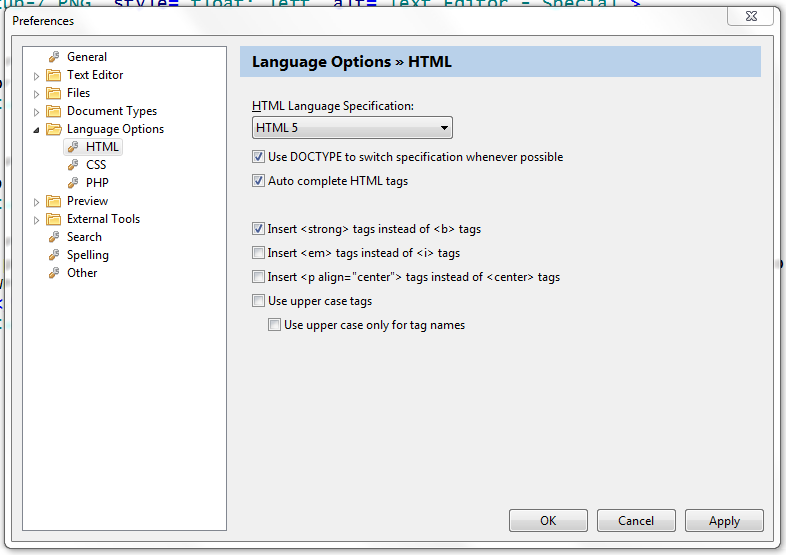
Next on the list:Language Options - HTML
We're building our web pages with HTML 5, so set it up as shown.
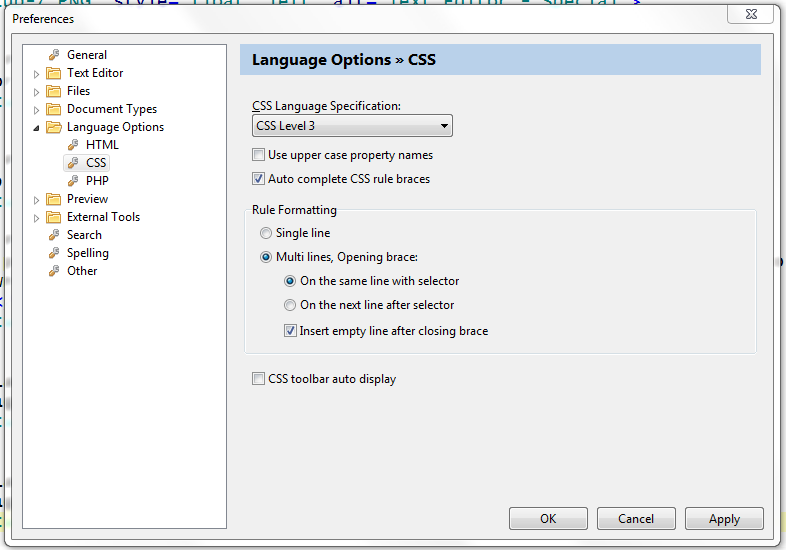
Next on the list:Language Options - CSS
We're building our web pages with the latest version of CSS, so set it up as shown.
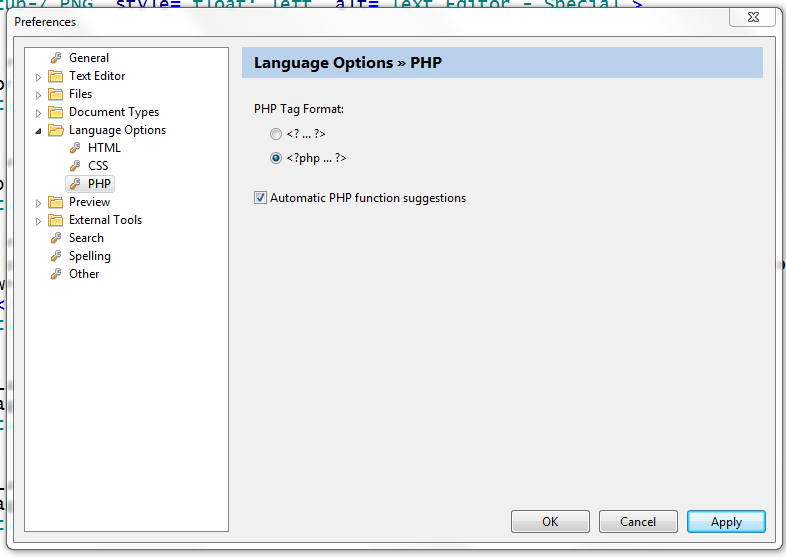
Next on the list:Language Options - PHP
If you are going to be building forms or use PHP to build your website, try this set up.
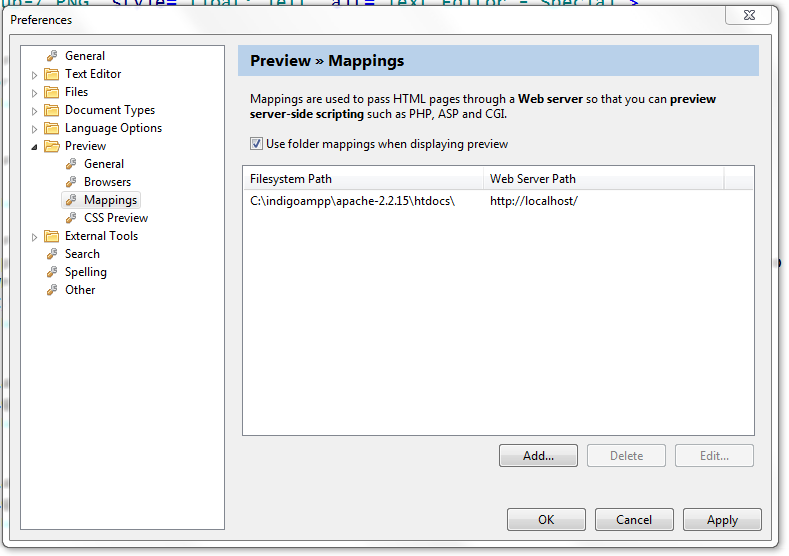
Next on the list:Preview - Mappings
Mapping is only used if you are creating your website in a server environment.
If you've set up the Apache server on your PC, files would be saved in the htdocs folder of the Apache server and Mappings would be set up as shown.
Uncheck the box if you are not using Apache.
The only other setting you might want to change is under External tools - Spelling. You can turn on Automatic Spellcheck.
I prefer to highlight the word in question, Click Tools - Spell Checking. You are then given the option of checking the rest of the page or ending Spell Check.
For most purposes you can now start building web pages.
Got a Question?
Send me your questions about using HTMLPad 2014.
If you would like a direct response, please include your email address.
(We will not keep your email address)